candle painting kit
A slow, creative way to make something uniquely yours.
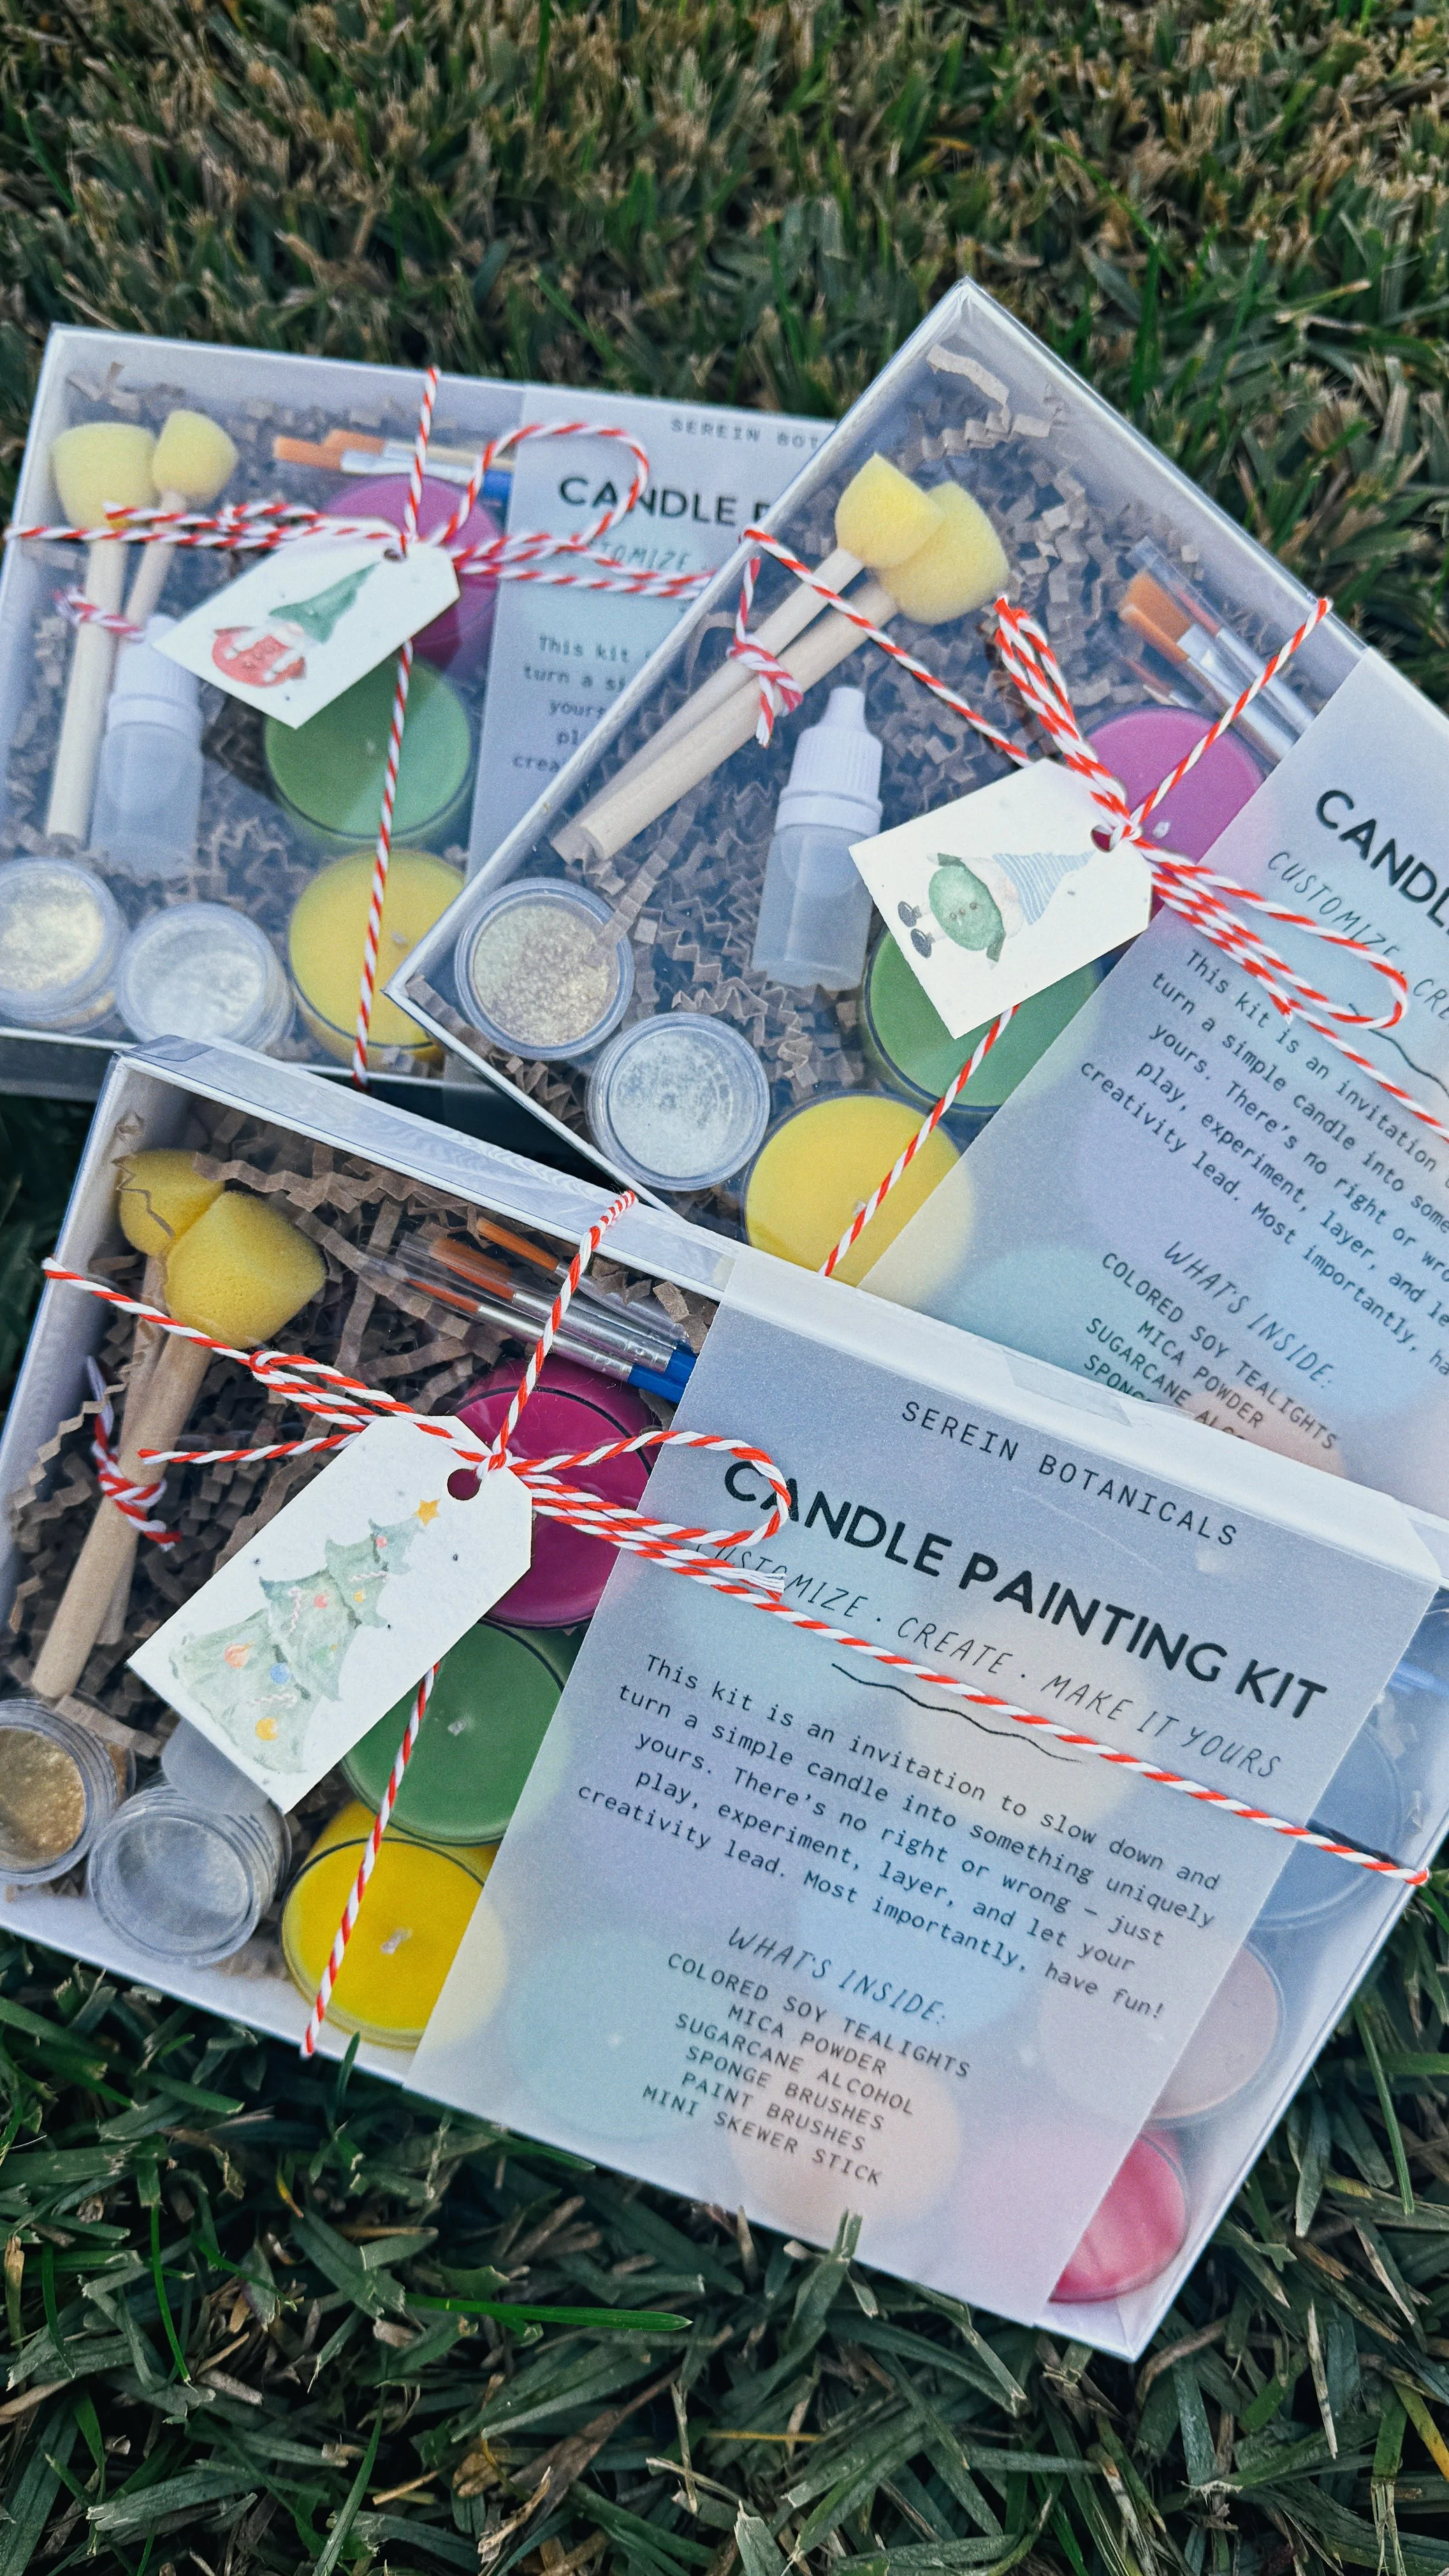
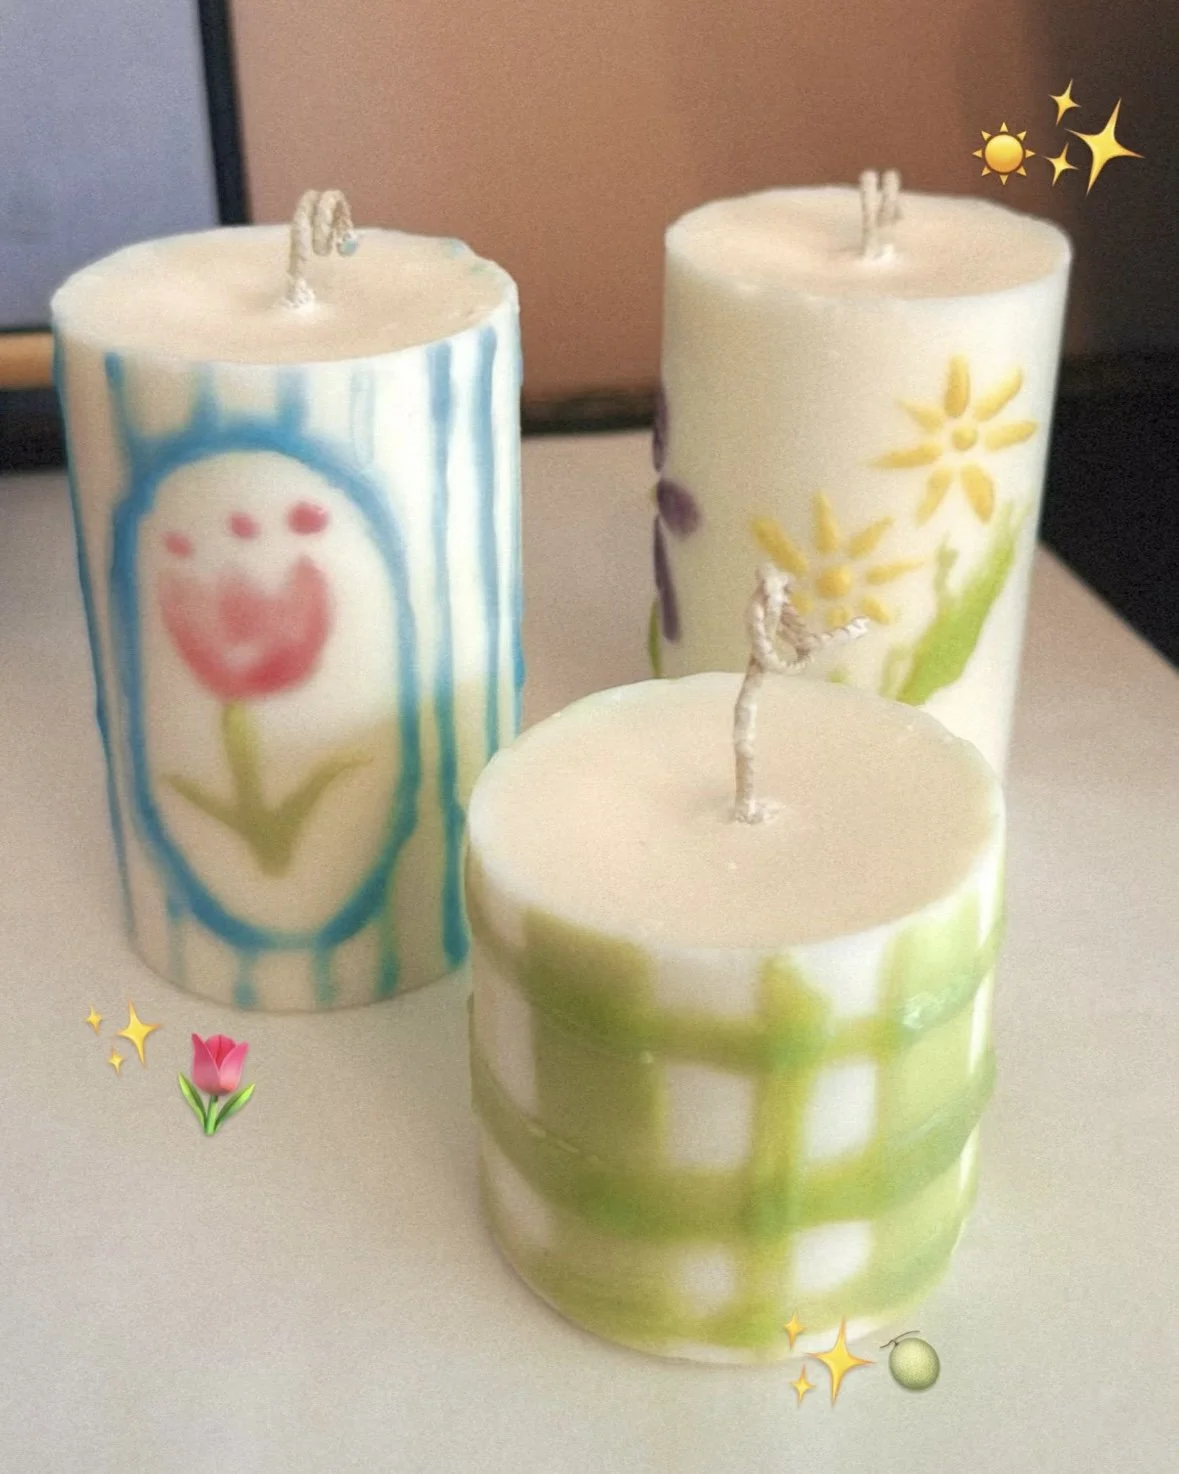
This kit is designed to help you transform a simple candle into a one-of-a-kind piece. There’s no right or wrong — just play, experiment, and let your creativity lead. Whether you’re painting a pillar or taper, cake, a snowman, or something entirely your own, this is an invitation to slow down and enjoy the process.WHAT’S INSIDE
Colored soy tealights
Mica powder (in reusable screw-top pots)
Dropper vial of high-proof sugarcane alcohol (for mixing mica paint)
Sponge brushes (2 sizes)
Paint brushes (2 flat, 2 fine detail)
Mini skewer stick (for dots, lines, and tiny details)
GETTING STARTED
Set up a clean, well-lit workspace. Cover your surface with parchment paper or a paper towel. Make sure your candle is at room temperature and completely dry before painting.
METHOD ONE: PAINTING WITH MELTED WAX
This method creates texture, dimension, and an “icing” or drip effect.
Light a colored soy tealight and allow a small pool of wax to form.
Carefully dip a brush or skewer into the melted wax.
Gently apply to the candle where you want raised details, dots, or drips.
Let the wax set for 1–2 minutes before adding more layers.
Tips:
Work slowly — a little wax goes a long way.
If the wax starts to harden on your brush, simply dip again.
For drips, wait a few seconds after scooping so the wax thickens slightly before applying.
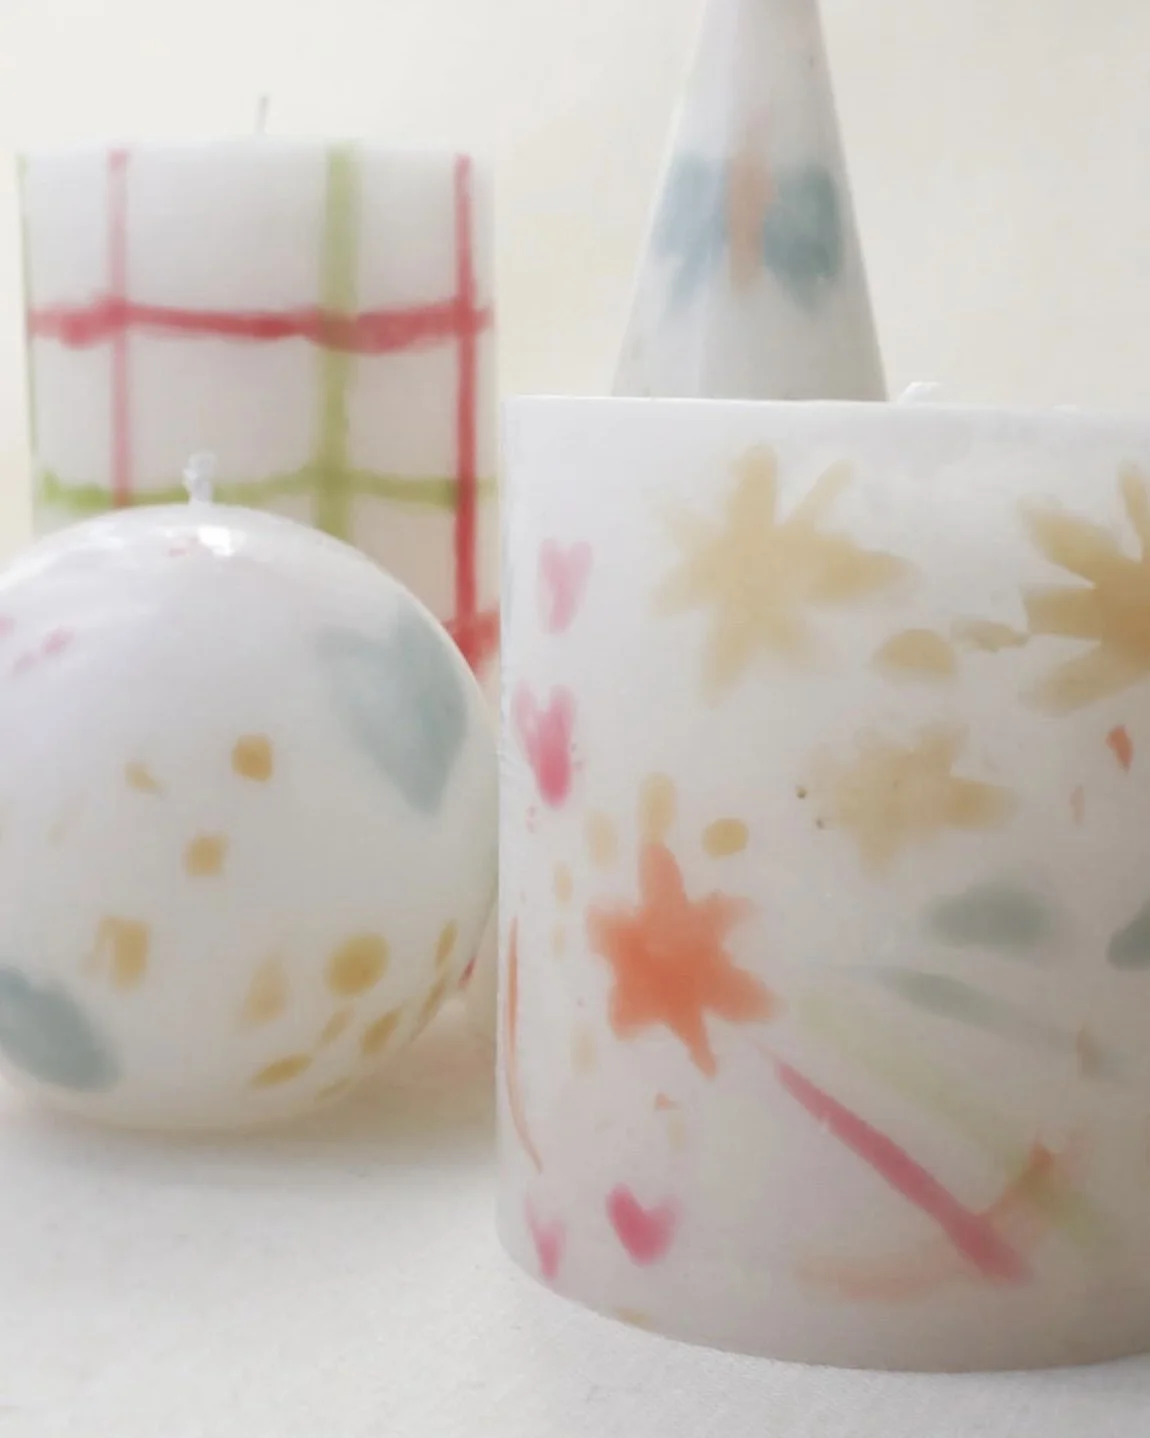
METHOD TWO: PAINTING WITH ALCOHOL + MICA
This method is perfect for shimmer, metallic accents, fine details, and watercolor effects.
Open a mica pot and add 5–6 drops of alcohol.
Stir gently with a brush or skewer until it becomes a smooth, paint-like liquid.
Dip your brush lightly and paint directly onto the candle.
Let dry for 30–60 seconds between layers. The alcohol evaporates quickly, leaving the mica behind.
Build color slowly — multiple thin layers give the best results.
Tips:
If the paint looks streaky, add one more drop of alcohol and stir again.
Stir occasionally — mica naturally settles.
Use the sponge brush for soft shading or blending.
DETAILING & FINISHING
Use the skewer for dots, swirls, writing, or outlining.
Layer mica over cooled wax for shimmer highlights.
Let your finished candle rest for 10–15 minutes before moving.
IMPORTANT NOTES
Candles are customized with soy wax-based color, and can be safely burned once decorated.
As with any candle, always place on a heat-safe surface with a raised lip (to catch drips) and never leave unattended while lit.
Decorative wax details and layered designs may burn differently than a plain candle, so burn time and flame behavior can vary.
For best results, keep the wick trimmed and discontinue use if the flame becomes too large or uneven.
HAVE FUN WITH IT
Your candle doesn’t need to be perfect — it just needs to feel like you. Make it playful, cozy, whimsical, or bold. No two will ever be the same, and that’s the magic.
SHARE YOUR CREATIONS
We’d love to see what you make. Every candle turns out a little different, and that’s part of the magic.
If you’re up for sharing, tag us on Instagram or TikTok @sereinbotanicals and show us how you used your kit to personalize your candle — whether it’s playful, cozy, whimsical, or perfectly imperfect.
Your creativity inspires us (and our community), and we can’t wait to see what you dream up ✨
If you have any questions or need further assistance with your candle kit, please don’t hesitate to reach out to us at hello@sereinbotanicals.com!